
2026 Holiday Card Series #6 | Season’s Greetings
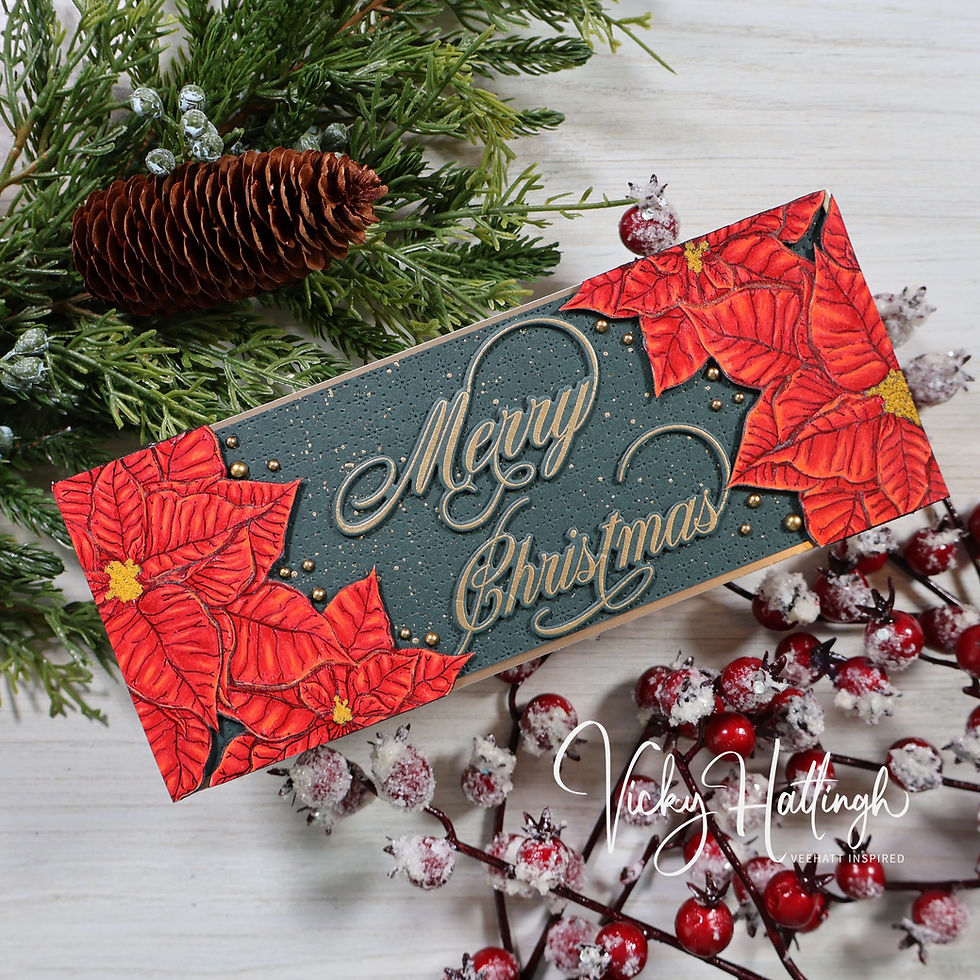
Hi friends! Today’s card is my sixth installment of my 2026 Holiday Card Series where I made an easy-to-create Christmas card using products from Altenew. I hope you enjoy it and that it inspires you to get cranking on those holiday cards!

The supplies used:
Altenew – Patterned Petals Builder Stencil Set
Altenew – Holiday Essentials Die Set
Spellbinders – Precision Layering A2 A Die Set
Altenew – Silver Shimmer Relief Paste
Simon Says Stamp – Kale Pawsitively Saturated Ink Pad
Simon Says Stamp – Cranberry Pawsitively Saturated Ink Pad
Lisa Horton – Solid Gold Cloud 9 Metallic Pigment Ink Pad
Altenew – Forest Canopy Glitter Cardstock Set (Emerald)
Cardstock Warehouse – Stardream Silver Cardstock
Scrapbook.com – All Purpose Craft Scraper
Altenew – Mixed Media Palette Knife
Altenew – Ultra Sticky Grip Mat
Altenew – Ultra Sticky Double-Sided Tape (1” x 50m)
Bearly Art Precision Craft Glue
Anna Griffin Empress Die Cutting Machine
Creating the Background
For the background panel, I trimmed a piece of white cardstock to measure 5.5” x 5.5”. I placed the cardstock onto my Ultra Sticky Grip Mat and using Stencil 1 from Altenew’s Patterned Petals stencil set, I inked Simon Says Stamp’s Kale ink through the stencil openings. Using Stencil 2 from the same set, I inked Simon Says Stamp’s Cranberry ink through the stencil openings. Next, I ink blended Lisa Horton’s Solid Gold metallic ink though the openings of Stencil 3 from the Patterned Petals stencil set and, lastly, I used a palette knife and craft scraper to apply a thin coat of Altenew’s Silver Shimmer Relief Paste through the openings of stencil 4. I set the panel aside to allow the pigment ink and the paste to fully dry. Then using the Spellbinders Precision Layering A2 A die set, I used the largest die to die cut a piece of Cardstock Warehouse’s Stardream Silver cardstock. I used the second largest die from this die set to die cut the stenciled cardstock panel and used Altenew’s Ultra Sticky Double Sided Tape to adhere the stenciled panel to the silver panel.

Creating the Focal Point
For the poinsettia, I chose one that I had already prepared when I created the 5th card in my 2026 holiday card series using the Altenew Poinsettia and Berries Stamp and Die Set (I always make extras in case I mess something up). I’ll post the link here for the tutorial for the poinsettia: https://www.veehatt-inspired.com/post/2026-holiday-card-series-5-a-gift-for-you
Creating the Sentiment
For the sentiment, I chose to use the “Season’s Greetings” greeting from Altenew’s Emerald glitter cardstock that is in the Forest Canopy Glitter Cardstock Set and twice from heavy weight white cardstock. I also die cut the coordinating shadow layer die from Lawn Fawn vellum since it will be placed on a somewhat busy background. I used Bearly Art Craft Glue to adhere the layered sentiment together with one white cardstock layer and the glitter cardstock layer glued on top of the shadow layer and the second white cardstock layer glued behind the vellum shadow layer.

Assembling the Card
First, I adhered the background panel to a white, A2 size, top folding card base using Bearly Art Precision Craft Glue. I positioned the poinsettia and greeting onto the bottom third of the card front and, once happy with the placement, glued them to the card front. With that… this card is completed!
Thank you for stopping by and checking out today’s blog post, I really appreciate it. Until next time, happy crafting!


Comments