top of page
IMG_3565.JPG

Check Out Our Latest Designs

Subscribe and be the first to know about our latest card making designs!

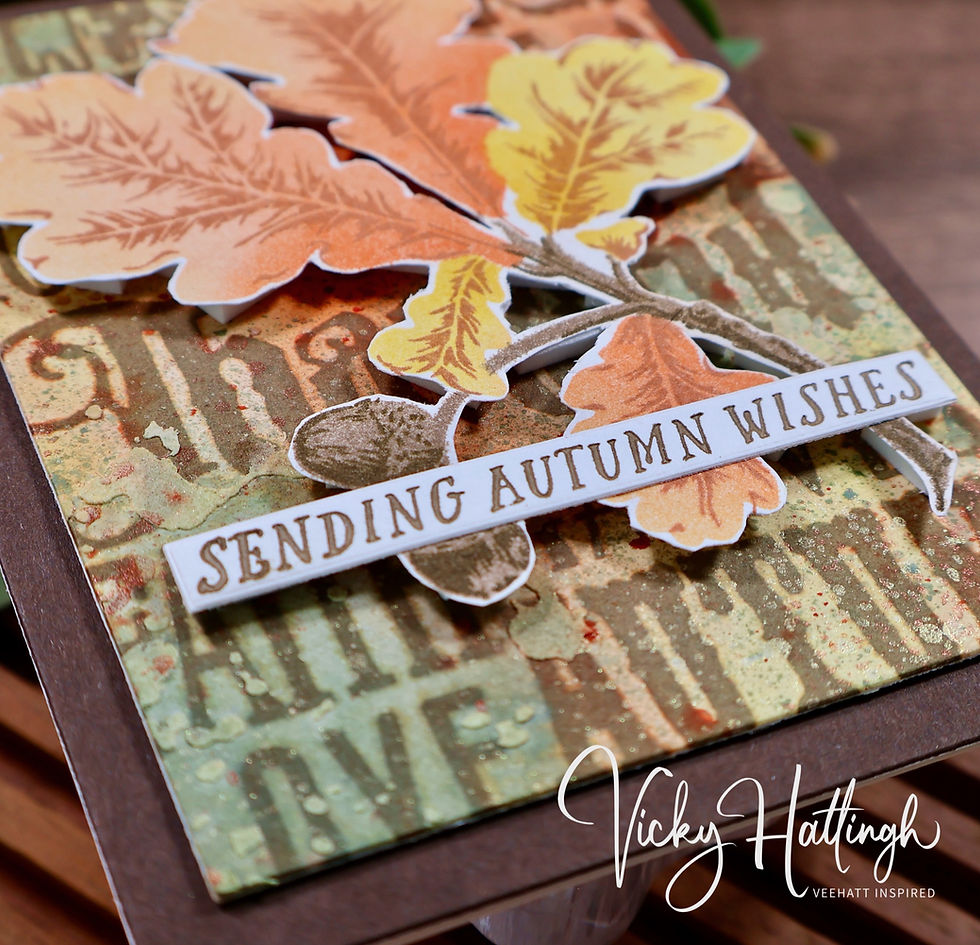
Hi crafty friends!  Today I am sharing a card featuring some fabulous products from Pinkfresh Studio – both recently released and a tad older.  My beautiful niece gifted me with a pad of Strathmore Toned Tan Paper during Christmas and that paper was the inspiration for what ended up being a delightful tone-on-tone birthday card.


The supplies used:

Pinkfresh Studio – Amazing Things Stamps/Stencils/Dies

     Pinkfresh Studio –Bloomscape Stamp/Stencils

     Pinkfresh Studio – On My Mind Stamp Stamps/Dies

     Spellbinders – Precision Layering A2 A Die Set

     Pinkfresh Studio – Nested Elongated Ovals Dies

     Kraft Cardstock

     Tonic – Craft Perfect Pearled Gold Vellum Paper

     Strathmore Toned Tan Sketch Paper

Spellbinders - Cinnamon Color Wheel Cardstock

     Anna Griffin – Champagne Matte Foil Cardstock

     Simon Says Stamp – Earl Ink Pad

     Simon Says Stamp – Charcoal Ink Pad

     Simon Says Stamp – Nutmeg Ink Pad

     Simon Says Stamp – Paprika Ink Pad

     Simon Says Stamp – Allspice Ink Pad

     Altenew Mini Blending Brushes

     Ranger – Anti-Static Pouch

     Ranger/Tim Holtz – Distress Embossing Ink

     Ranger – Princess Gold Embossing Powder

     Scor-Tape Double Sided Adhesive

     Bearly Art Precision Craft Glue

     WOW! Dual Speed Heat Tool

     My Sweet Petunia - MISTI Stamping Tool

     Anna Griffin Empress Die Cutting Machine


Creating the Background Panel

I cut a piece of Strathmore Toned Tan paper to measure 4.5” x 5.75” and used Simon Says Stamp Earl ink to stamp Pinkfresh Studio’s Bloomscape cling floral stamp onto the Toned Tan paper with the assistance of my MISTI stamping tool.  I chose to create a tone-on-tone floral background colorway, so I started my ink blending utilizing the coordinating Pinkfresh Studio Bloomscape stencils and some ink pads from Simon Says Stamp in the colors:  Earl, Charcoal, Nutmeg, Paprika, and Allspice.  Using Altenew’s Mini Blending Brushes, I added greys to the leaf-related stencil areas and the brown-tones were blended into the floral aspects of the stencils except for the flower centers and I added Lisa Horton’s Night Sky Cloud 9 ink to those.  Once the gold pigment ink dried, I used the Spellbinders Precision Layering A2 A dies to die cut the inky, floral background panel using the second to largest die in the set and die cut Anna Griffin Champagne Matte Foil Cardstock using the largest die in the set.  I adhered the floral background panel to the center of the champagne metallic cardstock using strips of Scor-Tape.


Creating the Focal Point

Using the Pinkfresh Studio Amazing Things stamp set, I placed the large floral stamp and a piece of the Strathmore Toned Tan paper into my MISTI tool, prepped the paper with Ranger’s Anti-Static Pouch to help alleviate stray pieces of embossing powder sticking where I didn’t want them to, and stamped the image onto the Toned Tan paper using Ranger Ink/Tim Holtz’s Distress Embossing Ink.  Once stamped, I applied a coating of Ranger Princess Gold embossing powder to the inked image, tapped off the excess, and melted the embossing powder using my WOW! Dual Speed Heat Tool. 


For ink blending the image, I used the Pinkfresh Studio Amazing Things stencil set.  For the leaves (stencils 1 and 2), I chose Simon Says Stamp’s Earl and Charcoal inks to add color and shading.  There are three stencils for the flowers, so I used Simon Says Stamp’s Nutmeg, Paprika, and Allspice inks for the floral aspects of the image.  I ink blended the Nutmeg on stencil 3, Paprika on stencil 4, and Allspice on stencil 5. 


Once the image was completely colored, I used the Pinkfresh Studio Amazing Things die to die cut the flower image and die cut plain, kraft cardstock three additional times to add dimension to the focal image.  After die cutting, I used Bearly Art Precision Craft Glue to adhere the inked image and two of the plain, kraft cardstock layers together.  Using the Pinkfresh Studio Nested Elongated Ovals die set, I die cut a piece of Tonic Craft Perfect Pearled Gold vellum using the largest die in the set.  I glued the floral stacked layers to the center of the vellum oval and glued the final/third plain, kraft cardstock image that matches the floral image to the back side of the vellum.  This will add some lift and separation for the floral image from the floral background.


Creating the Sentiment

For the sentiment, I used the Pinkfresh Studio On My Mind clear stamp and die set and chose the “Wishing You a Beautiful Birthday” greeting.  I placed the sentiment stamp and a piece of Spellbinders Cinnamon cardstock into the MISTI tool, prepped the cardstock with Ranger’s Anti-Static Pouch and stamped the image onto the cardstock using Ranger Ink/Tim Holtz’s Distress Embossing Ink.  Once stamped, I applied a coating of Ranger Princess Gold embossing powder to the inked sentiment, tapped off the excess, and melted the embossing powder using my WOW! Dual Speed Heat Tool.


Assembling the Card Front

To add the focal point the card front, I added liquid glue to the back side of the bottom layer of kraft cardstock that was previously glued to the vellum layer of the focal point and carefully positioned in onto the center of the card.  Once the glue dried, I added a few pieces of scrap cardstock the two outer edges of the sentiment to give them stability and glued the sentiment to the bottom center of the card front.  Lastly, I adhered the completed card front to a side-folding, A2 size, kraft cardstock card base.


Thank you for stopping by and checking out today’s blog post, I really appreciate it.  Until next time, happy crafting!


Hi crafty friends!  Today I am sharing a colorful Thanksgiving card that I made using the Thankful Silhouettes stamps from Stampers Anonymous and Tim Holtz, as well as a stamp/stencil set from The Greetery.  The large wordy stamp in Thankful Silhouettes is everything a crafter needs for a great Thanksgiving background created. 


The supplies used:

Stampers Anonymous/Tim Holtz – Thankful Silhouettes Stamp Set

     Spellbinders – Windy Fall Leaves Press Plates and Die Set

     The Greetery – Oakwood Stamp and Stencil Set

     Spellbinders – Precision Layering A2 A Die Set

     Scrapbook.com – Heavy Weight Mixed Media Paper Pad (White)

     Spellbinders – Timber Color Essentials Cardstock

     Ranger/Tim Holtz – Distress Archival Ink, Ground Espresso

     Simon Says Stamp Pawsitively Saturated Ink – Clay, Nutmeg,

          Cocoa, Cappuccino, Cantaloupe, Sherbet, Honey

     Ranger/Tim Holtz – Distress Spray Stain – Crackling Campfire,

          Vintage Photo, Squeezed Lemonade, Bundled Sage

     Ranger/Tim Holtz – Distress Spritz – Crackling Campfire, Squeezed Lemonade

     Stampers Anonymous/Tim Holtz – Grime “THS130” Layering Stencil

     Ranger/Tim Holtz – Distress Opaque Texture Paste

     Ranger/Tim Holtz – Distress Palette Knife

     Simon Says Stamp – Big Momma Foam Tape

     Ranger Heat It Craft Tool

     Anna Griffin Empress Die Cutting Machine

     Spellbinders BetterPress Letterpress System


Creating the Card Front Background

I cut a piece of white, Heavy Weight Mixed Media Paper from Scrapbook.com to measure 5-1/2” x 6” and used blue painter’s tape to adhere it to a hardboard.  Since I will be using Distress Spray Stain on the panel, I placed the large wordy stamp from Stampers Anonymous/Tim Holtz called “Thankful Silhouettes” onto an acrylic block and stamped the image using Ranger/Distress Ground Espresso Archival Ink. 


Once the stamping was completed, I used the Stampers Anonymous/Tim Holtz “Grime/THS130” stencil and Ranger/Tim Holtz Distress Opaque Texture Paste and partially pasted portions of the background panel in three locations on each background to add interest.  I cleaned up my stencil and palette knife and set the two backgrounds aside to allow the paste to fully dry.


Once the texture paste was dry, I began spritzing Ranger Distress Spray Stains in the colors Crackling Campfire, Bundled Sage, Squeezed Lemonade, and Vintage Photo.  I alternated between these four colors and small amounts of water until I got the look I was trying to achieve.  I dried the panel with my Ranger Heat It Craft Tool and, once relatively dry, I sprayed a bit of Distress Spritz in the Crackling Campfire and Squeezed Lemonade colors to give the background a bit of shimmer.  When everything was completely dry, I removed the inky panel from the hardboard and die cut it using the third largest die from the Spellbinders Precision Layering A2 A die set.  I also die cut a piece of Spellbinders Timber cardstock using the largest die from the Precision Layering A2 A die set for a matting layer.  I adhered the Timber cardstock to the front of a white A2 size card base and added Simon Says Stamp Big Momma Foam Tape to the inky panel and adhered it onto brown the matting layer.


Creating the Focal Point

For the focal point, I used The Greetery’s “Oakwood” stamp and stencil set.  I started by taking a piece of 4-1/2” x 5-1/2” white cardstock and placed it on my Simon Says Stamp “Stamp and Stencil Mat” and placed the first stencil from the Oakwood set over the cardstock and ink blended Simon Says Stamp Cappuccino ink over the acorns and a combination of Simon Says Stamp Cantaloupe and Sherbet inks over the two leaves.  For stencil 2, I ink blended the top three leaf openings with Simon Says Stamp Honey ink and the same Cantaloupe/Sherbet combination for the bottom leaf opening.  For stencil 3, I ink blended the branch openings with the Cappuccino ink.


Next, I placed the ink blended panel into my MISTI stamp positioner and began placing the stamps from the Oakwood stamp set over the ink blended images they coordinated with.  These are the Simon Says Stamp ink colors I used for each stamp:

     A – Clay

     B – Nutmeg (yellow leaves) and Clay (orange leaf)

     C & D – Cocoa


I removed the stamped cardstock panel from the MISTI and fussy cut it out since I didn’t have the coordinating die. 


Building the Sentiment

Utilizing the Spellbinders “Windy Fall Leaves” Press Plates and Die set, I used Simon Says Stamp Cocoa ink and the ‘Sending Autumn Wishes’ sentiment from that set and together with my Spellbinders BetterPress system created the sentiment and die cut it with the die from that same set.  I placed additional scraps of cardstock on the back of the sentiment to give it some additional strength and dimension.   


Finishing the Design

To complete the card, I added foam squares to the back side of the leafy focal point and adhered it and the sentiment onto the mixed media, card front background.  Lastly, I adhered the card front to an A2 size card base and that wrapped up today’s card.


Thank you for stopping by and checking out today’s blog post, I really appreciate it.  Until next time, happy crafting!


Happiest Birthday Ever!  |  Trinity Stamps + Honey Bee Stamps


Hi friends!  Today I’ve made a birthday card using the Sarah Renae Clark Color Cube card #030 color scheme.  The stamp and stencil products I used are from Trinity Stamps and Honey Bee Stamps.  It’s definitely a hand delivery card with the amount of Hero Paste I used – but well worth it for the look I achieved.  Let’s get started!  


The supplies used were:


Trinity Stamps “Hey Cupcake” Stamp and Die Set

Honey Bee Stamps “It’s a Party” Stencil Set

Hero Arts Glitter Hero Paste

Brutus Monroe Gold Glitter Glaze

Simon Says Stamp Pawsitively Saturated Inks:

    Honey

    Field

    Morning

    Dusk

    Peachy

    Terracotta

Simon Says Stamp Intense Black Dye Ink

Copic Alcohol Markers –

    Yellows:  Y04, Y18, Y26

    Blues:  B93, B45, B97

    Peaches:  YR01, YR65, E97

X-Press It Blending Cardstock

Spellbinders Sunkissed Cardstock

My Favorite Things Blue Yonder Cardstock

Pretty Pink Posh “Beach Day Shaker Beads”

Wagner Heat Embossing Tool

Misti Original Stamp Positioning Tool

Anna Griffin Empress Die Cutting Machine


I started today’s card by cutting a piece of white cardstock that measured 4-1/2” x 5”, a piece of Spellbinders Sunkissed cardstock that measured 5” x 5-1/2”, and a piece of My Favorite Things Blue Yonder cardstock that measured 4-7/8” x 5-3/8” (approximately).  I used tape runner to adhere the yellow and blue panels together.


For the stenciling, I used the white cardstock panel listed in the previous paragraph and used the Honey Bee Stamps “It’s a Party” stencils to create my background.  There are six stencils in this set and I used a blending brush and Simon Says Stamp’s Pawsitively Saturated Inks in the colors: Honey, Field, Morning Peachy, and Terracotta.  After my stenciling was completed, I re-used the Layer 4 stencil (the one with the stars) and placed it back onto the ink blended panel and aligned it with the yellow inking that was already completed and applied a generous layer of Brutus Monroe Gold Glitter Glaze with a palette knife all over the stencil until it was evenly covered, returned the excess back into the jar and immediately cleaned off my work surface, palette knife, and stencil.  I set the background panel aside to dry while I moved on to the next step.


Using my Misti stamp positioner, a piece of X-Press It Blending Cardstock, and Simon Says Stamp Intense Black ink pad, I positioned the two cupcake stamps from the Trinity Stamps ”Hey Cupcake” stamp and die set into the Misti and stamped the images onto the X-Press It cardstock panel.  After cleaning off my stamps, I used my heat tool to dry/set the ink since I was going to be coloring with Copic alcohol markers. 


For the cupcake coloring I used Copic markers Y04, Y18, and Y26 for the icing portion; markers B93, B45, and B97 for the cupcake wrapper; and markers YR01, YR65, and E97 for the small cake portion.  I used the coordinating dies to die cut the images and also cut an extra layer of the icing from heavy white cardstock to make that piece more structurally sound since I will be applying paste to it later and the extra cardstock will help prevent warping as the paste dries.


I used the smaller icing die included in the “Hey Cupcake” stamp/die set and die cut a piece of heavy weight white cardstock to make a stencil for my pasting (which means I only wanted the negative space).  I used temporary tape to adhere this piece of cardstock to the top of my Copic colored icing die cut and carefully applied a thick layer of Hero Arts Glitter Hero Paste over the inked icing (again, using that negative space stencil I made).  I slowly removed the homemade icing stencil from the yellow icing die cut and used my fingertips and a metal piercing tool to sculpt the edges of the Glitter Hero Paste so that the edges were completed covered and to also clear the paste from the black inked shadow areas that were made by the actual stamp.  I did this until the entire die cut was evenly covered with the paste and then added some Pretty Pink Posh “Beach Day Shaker Beads” to random areas in the icing to mimic nonpareils.  I set this portion of the project aside to dry several hours since I didn’t want to smear my paste.


Once the Glitter Hero Paste dried, I used liquid adhesive to adhere the icing die cut to the top of the cupcake die cut.  I used a white gel pen to add some highlighting to random areas of the blue cupcake holder and allowed that a small amount of time to completely dry.  While the gel pen was drying, I used the “Wishing you the happiest Birthday ever!” stamp from the Trinity Stamps “Hey Cupcake” stamp/die set and stamped it onto a piece of white cardstock using Simon Says Stamp Pawsitively Saturated “Dusk” ink then used the coordinating die to die cut it and also an extra one so that I could add dimension to the sentiment.  I adhered the birthday greeting to the blue cupcake holder portion of cupcake using liquid glue and then applied thin foam squares to the back of the cupcake.  Next, I used tape runner to adhere the stenciled card panel to the card front panels, then removed the release paper from the back of the foam tape squares on the cupcake and adhered it to the card front and that completed today’s card. 


Thanks so much for stopping by, I hope you enjoyed the birthday card and found inspiration for some of your cardmaking projects!  Until next time… happy making!


Life is full of inspiration and experiences

Follow us on Instagram

  • Instagram
Subscribe to our Mailing List

Thanks for submitting!

  • Instagram

© 2025 by VeeHatt Inspired. Privacy Policy. All Rights Reserved.

bottom of page