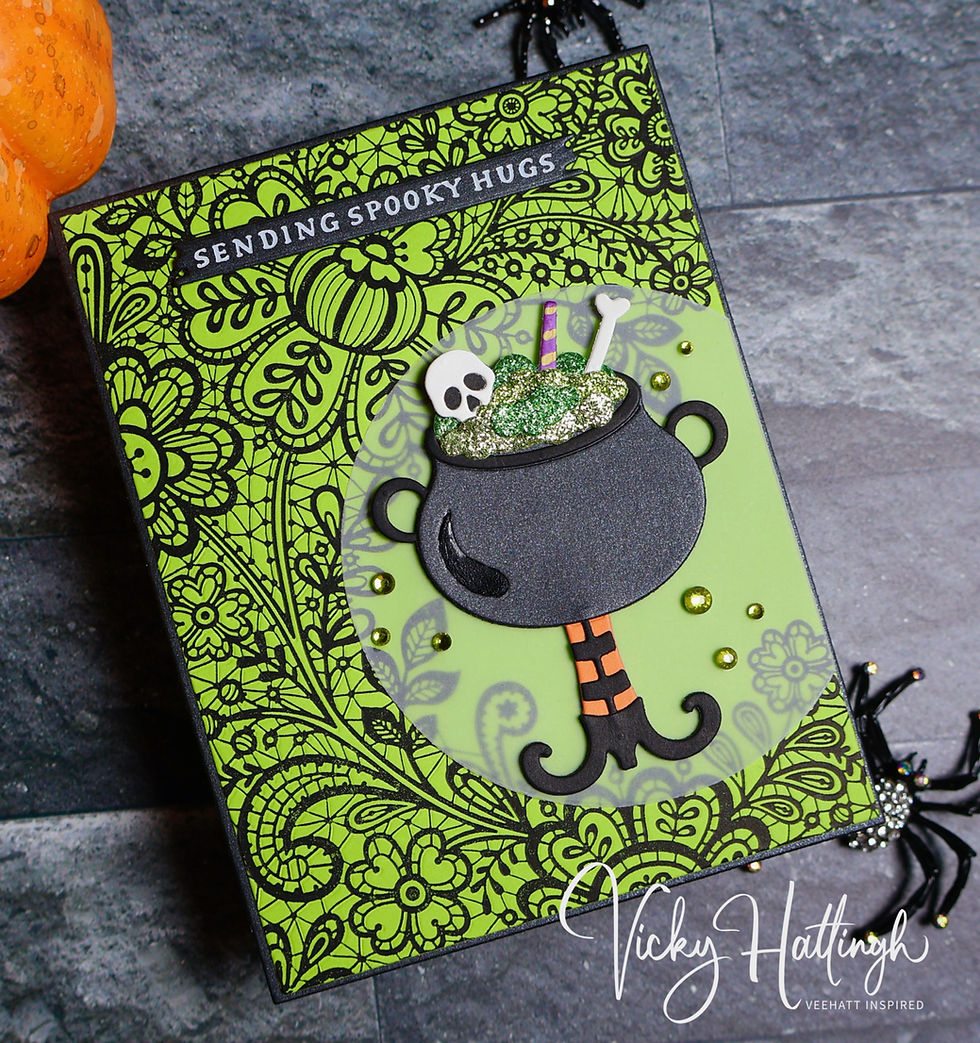
Halloween 2024 | Skully
- Vicky Hattingh
- Aug 25, 2024
- 2 min read
Hi friends! I love this time of year when I can begin making for Halloween, Thanksgiving and Christmas without feeling like I’m getting too early of a start. This is my first Halloween project for 2024 and I was inspired by the Spellbinder’s “Skully” Betterpress plates and the nostalgic feel it gives me. Inspiration is everywhere! I created my first YouTube video for my channel during the making of this card which can be found at https://www.youtube.com/@VeehattInspired . The card is an easy one to make and I thought it was best to go easy on myself for the first video.

The supplies used were:
Spellbinders “Skully” Betterpress press plates
Spellbinders “Make a Wish Arch Labels” die set
Spellbinders Bisque Cotton Card Panel for Betterpress
Spellbinders Betterpress Black Ink
Mijello Mission Gold Watercolors W532, W518, and W553
Lime Satin Shine cardstock from Your Paper Insider (Box 2)
Chiyogami Multi 731C pattern paper from Your Paper Insider (Box 3)
Spellbinders Betterpress Letterpress System
Simon Says Stamp “Spooky Salutations” Sentiment Strips
Ranger / Tim Holtz Distress Ink – Dusty Concord
Pinkfresh Glittering Mountains Ombre Glitter Drops
Glue and other adhesives from my stash
I started the project by cutting the 8-1/2” x 11” piece of Lime Satin Shine Cardstock in half to create an A2 top folding card base.
I taped a piece of Bisque cotton card to a small waterboard using a light tack painters tape to help hold the cotton card flat while I apply some watercolor paints. Using Mijello Mission Gold watercolors (exact numbers listed above), I painted the top third of the cotton panel with the green then used my Ranger Heat It tool to speed dry the paint, the middle section was painted with the orange paint – heat dried it, then lastly painted the bottom third with the purple paint and heat set it.
Using the Spellbinders Betterpress Letterpress System, I attached the watercolored panel to the platen, positioned the Skully press plate to the chase, and inked it up with Betterpress Black ink and ran it through my Spellbinders Platinum 6 die cutting machine.

Next, I die cut the Chiyogami Multi pattern paper and watercolored/Betterpress panel using the Spellbinders “Make a Wish Arch Labels”. I cut the pattern paper using the second largest die and the watercolor panel using the third largest die from the set.
I used Scrapbook.com double sided adhesive to adhere the pattern paper to the card base then popped up the watercolor panel using Simon Says Stamps’ Big Momma Foam Tape for a little dimension and to help flatten the watercolor cotton panel.
For the sentiment, I selected a cute one from Simon Says Stamp’s “Spooky Salutations” sentiment strips and edged it with a sponge dauber and Tim Holtz/Ranger’s Distress Ink in the color Dusty Concord.
I added a few Pinkfresh Studio Ombre Glitter Drops in the color Glittering Mountains here and there across the card front for a bit of sparkle and adhered them with Tim Holtz/Ranger’s Distress Collage Medium Matte.

I hope you enjoyed the card and found inspiration for some of your own Halloween card making projects! Until next time… happy making!


Comments